How To Fix Lenovo Error Code 0xc0000185?
When working with Windows 10 on Lenovo computer, it is inevitable that users will encounter a running slowly computer issue. So, they do a normal shutdown and then try a reboot of the machine.
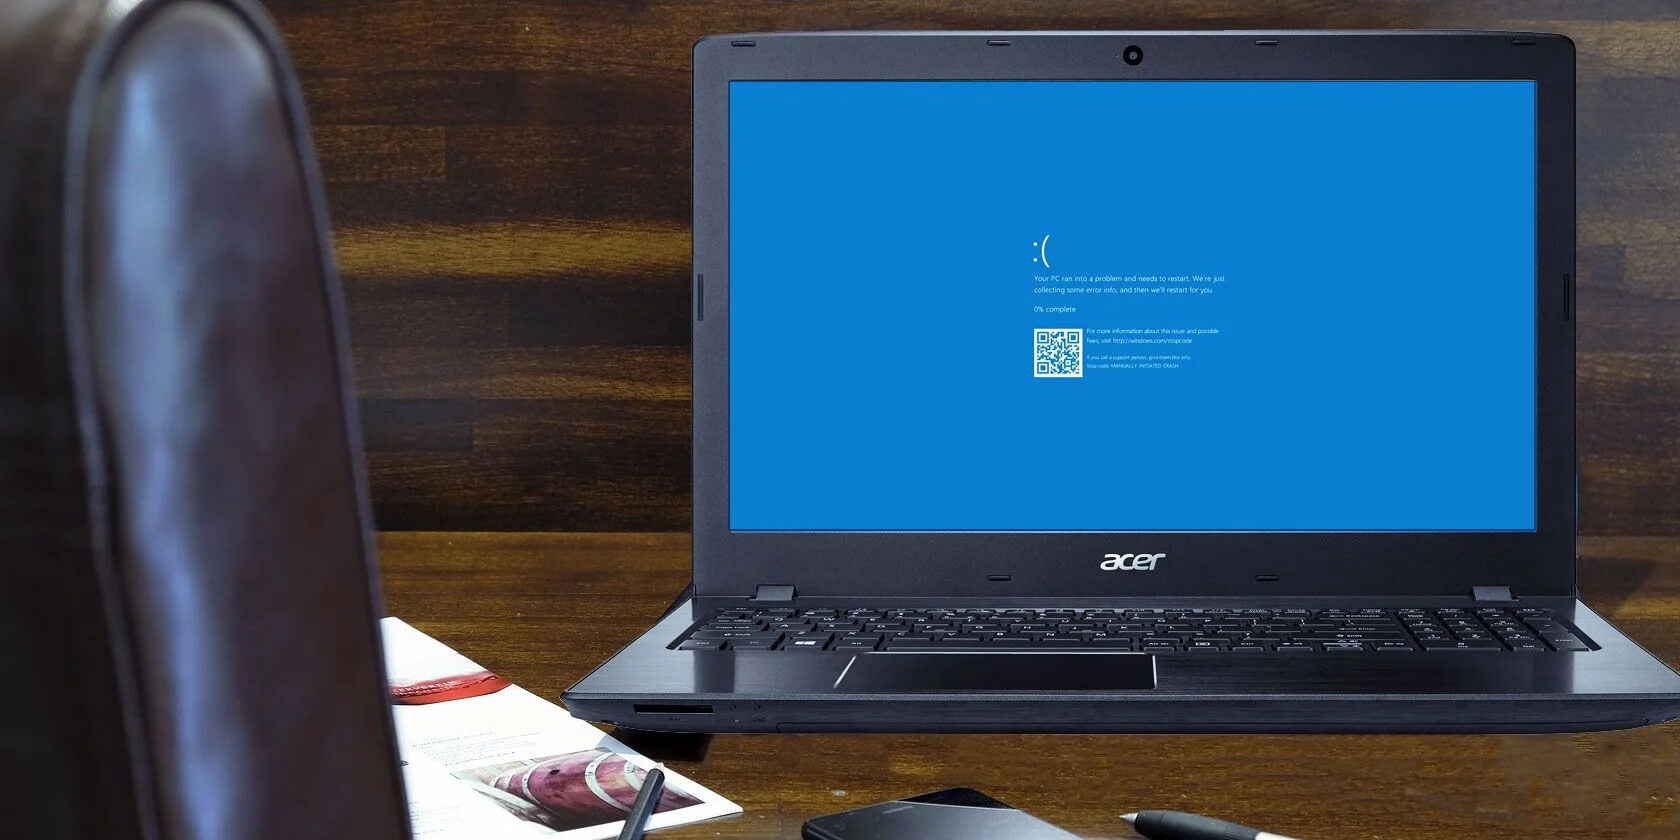
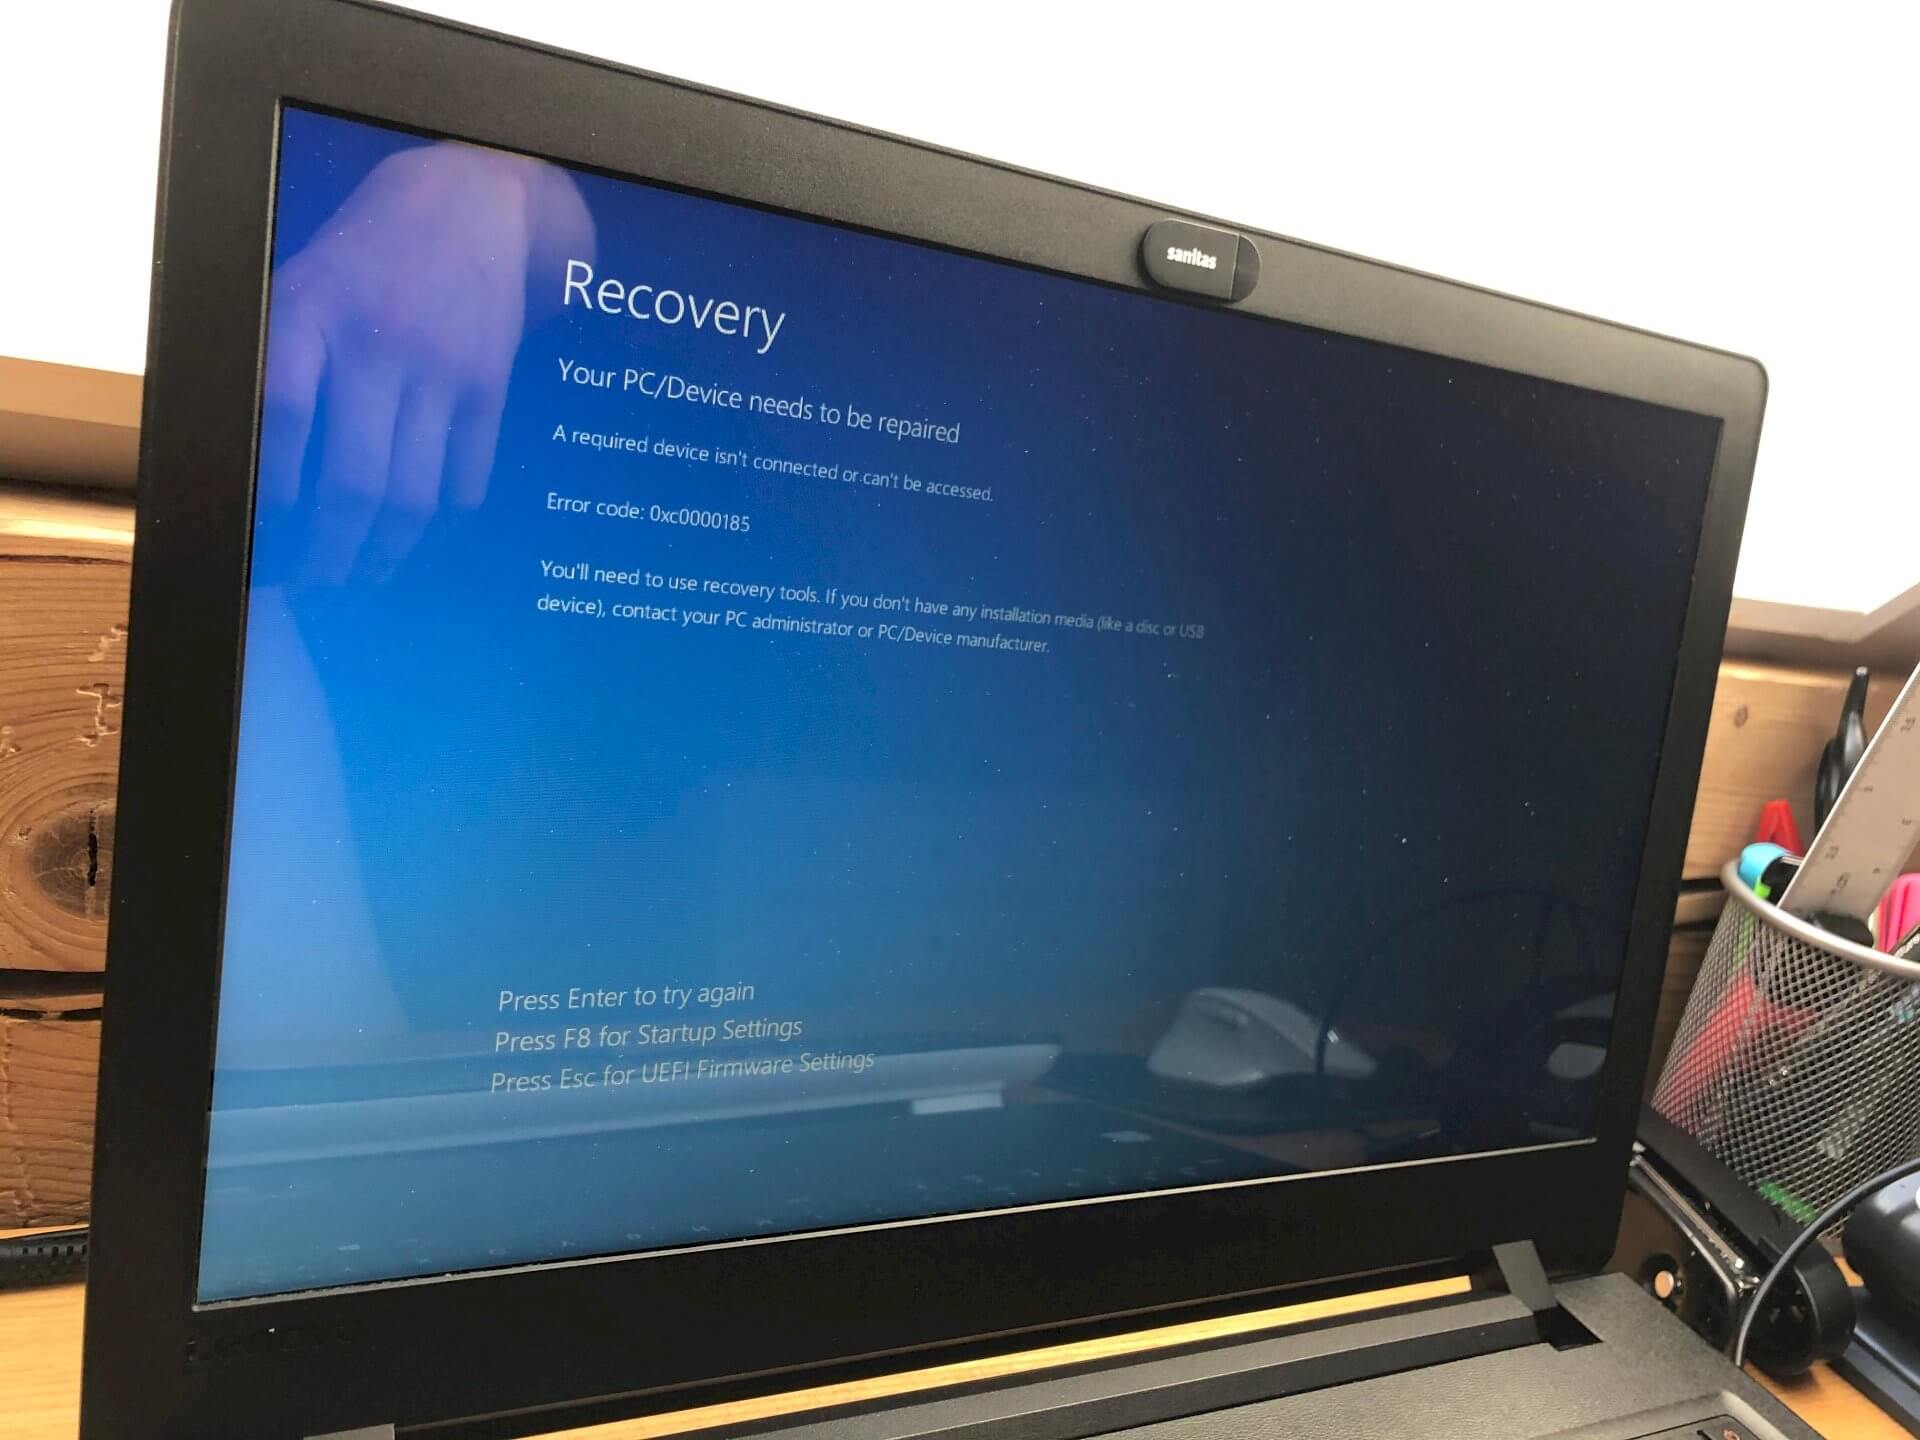
But, during reboot, the users get some kind of Lenovo error code 0xc0000185, which end up with the ubiquitous blue screens of death with the missing or corrupt winload.efi.
The Lenovo Error Code 0xc0000185 appears to show on some users booting up normally and ended up booting into safe mode to boot to normal mode again. The 0xc0000185 error simply means that the Lenovo computer can’t communicate with the CD drive.
The problem could happen due to a faulty CD drive or media, faulty interface, a bad connection, bad memory, power supply etc. However, in such condition, the users need to speedily solve the problem.
Well, here the blog will explain the simple steps on to Fix Lenovo Error Code 0xc0000185. So the users as you need to follow to solve the problem quickly.
Solutions to Fix Lenovo Error Code 0xc0000185
1. Perform a Clean Boot
You should try to run msconfig command and perform a clean boot. A clean boot is performed to start Windows by using a minimal set of drivers and startup programs.
This helps eradicate software conflicts that happen when you install a program or an update or when you run a program in Windows 10. You may also troubleshoot or determine what conflict is causing the problem by performing a clean boot.
Follow the steps to do this task:
- Log in to your computer as an administrator privilege.
- Then go to “Start” button, and in the search box, type “msconfig”.
- Choose “System Configuration” from the search results.
- On the “Services” tab of the “System Configuration” dialog box, tap or click to select the “Hide all Microsoft services” check box, and then tap or click “Disable all”.
- Go to “Startup” tab of the “System Configuration” dialog box, and then tap or click “Open Task Manager”.
- Then, go to the “Startup tab” in the “Task Manager”, for each startup item, select the “item” and then click “Disable” option.
- Now, close the “Task Manager” window.
- On the Startup tab of the “System Configuration” dialog box, tap or click “OK” button, and then restarts the computer.
- Then enabling the background files by ones or by twos to check which is causing it.
After performing the steps, if the problem still exists, then move to the next solution.
2. UEFI Hardware Check
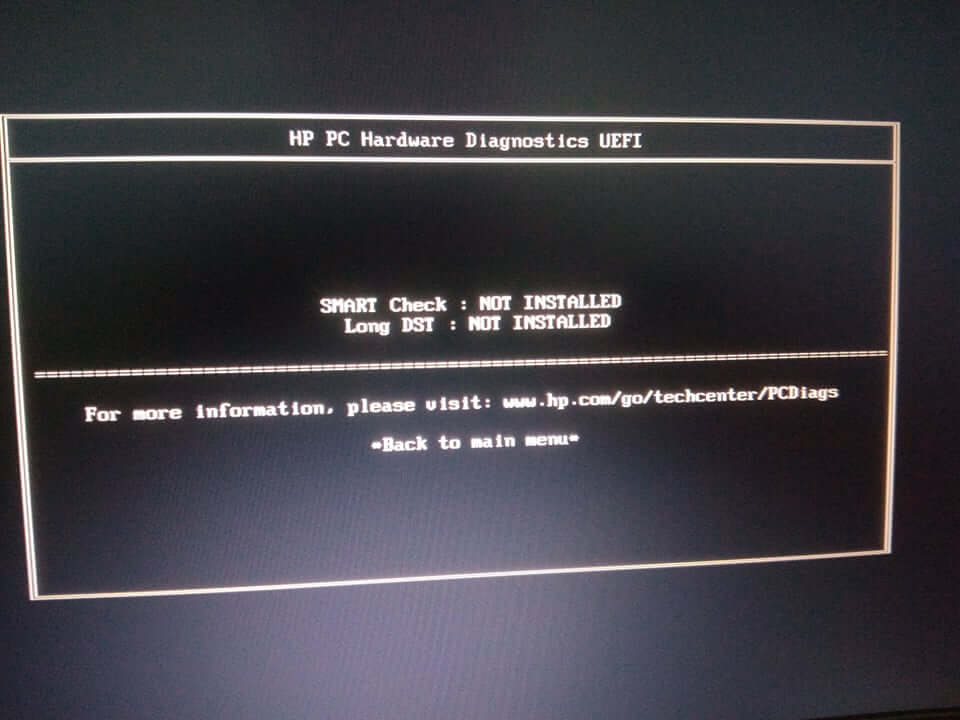
In some cases, the Lenovo Error Code 0xc0000185 could be a UEFI hardware check with the ODD is causing it to fail. Follow the steps to do the task.
- “Insert Windows 10 Installation Disc” on your Lenovo computer, and then restart it.
- Select your language settings, and then tap “Next”.
- Choose “Repair your computer”.
- Also, try to disable secure boot in my UEFI Firmware settings.
Note:- In case, if you don’t have this disc, then contact your system administrator or manufacturer or our Lenovo tech support professional for help.
3. Perform Automatic Repair on Windows 10
- “Insert Windows 10 installation media (USB)” and then restart the computer.
- Then hit “F12” key and select the drive that you inserted the installation media into.
- Next, a “Windows Setup window” will appear, then follow below steps.
- Tap “Next” and then choose “Repair your computer”.
- Now you will then see a blue screen and an option to select.
- Select the option “Troubleshoot “and then choose “Advanced options”.
- Select “Automatic Repair to restart” from “Advanced boot option”.
- Once restarted, “choose an account with administrative privileges” from Automatic repair window credentials of which you desire to use to repair Windows 10.
- Next, “enter the appropriate password” and then tap “Continue” button to initiate the automatic repair process.
4. Unplug All External Devices
You should try to unplug all external devices, except the keyboard and mouse, to fix Lenovo Error Code 0xc0000185 and then try to reboot the system.
-
- Double-click on the Safely Remove icon in your Windows System Tray. This will launch the Safely Remove program.
Note: In Windows this icon can sometimes be hidden. Simply click on the up arrow and proceed.
-
- The Safely Remove window will display any/all detected USB/FireWire devices connected to your Windows computer. If necessary click/check the Display device components box to expand the view.
- Click on the device (e.g., external drive) you wish to remove and click on the Stop button.
- A confirmation window will appear. Once again, select the device you wish to remove and click on the OK button.
- A pop-up window displays notifying you that it is now safe to remove the device. You can either close the pop-up window or it will close by itself. You can now power down/disconnect your external drive from your computer.
Note: At times while Safely Removing an external drive, Windows may show a warning that the external drive is busy and cannot be disconnected. If this occurs:
-
- Try again to Safely Remove the device
- Shut down your computer and then disconnect the external drive.
5. Check BIOS Settings and Clear the CMOS Memory
- When boots, if you are still receiving an error message, you should also do to one thing is that to ensure the BIOS settings again and then try clearing the CMOS memory correctly.
- After performing the steps your Lenovo computer will function and perform in the fastest way.
In case, after performing the steps, still, if the Lenovo Error Code 0xc0000185 exists, then connect with experienced professional to immediately help.
For more articles you can visit our website FlipTheTech now!


